User Tools
Sidebar
Table of Contents
VIM3/3L OS08A10 MIPI Camera
Introduction
This document mainly introduces OS08A10 MIPI Camera. The first part of the document describes how to connect. The second part introduces how to use it under Ubuntu. The third part introduces how to use it under Android.
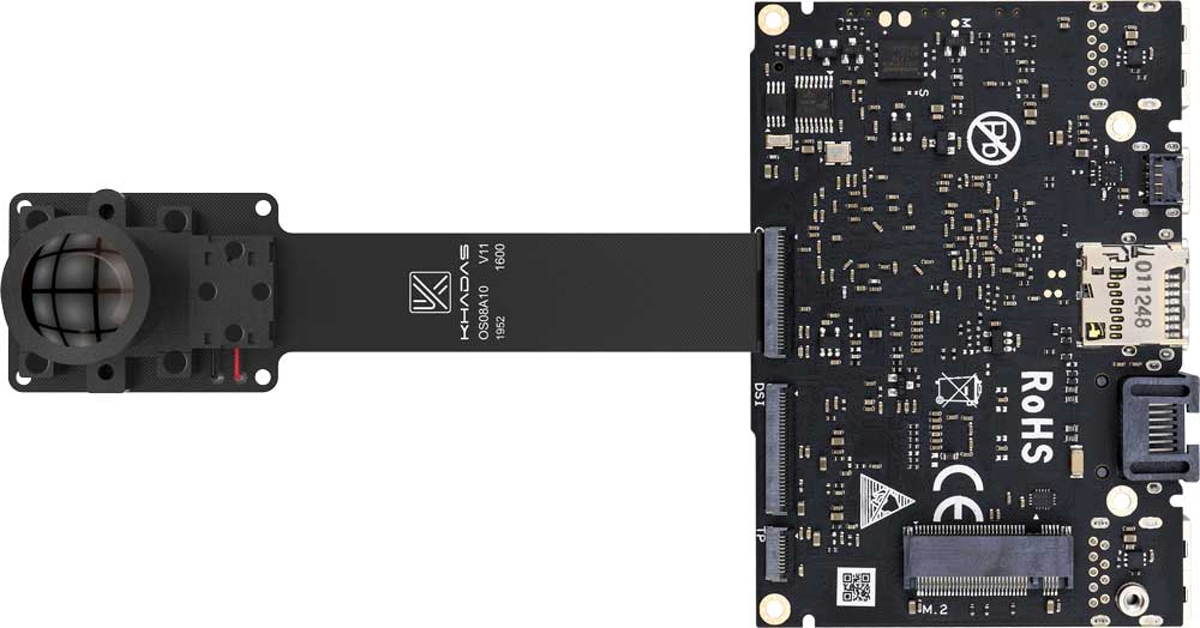
Hardware Connection
The reverse connection will burn the camera, please check the connection of the picture carefully before connecting.
For 5.15 kernel
Please check VIM3 MIPI Camera Usage.
For 4.9 kernel
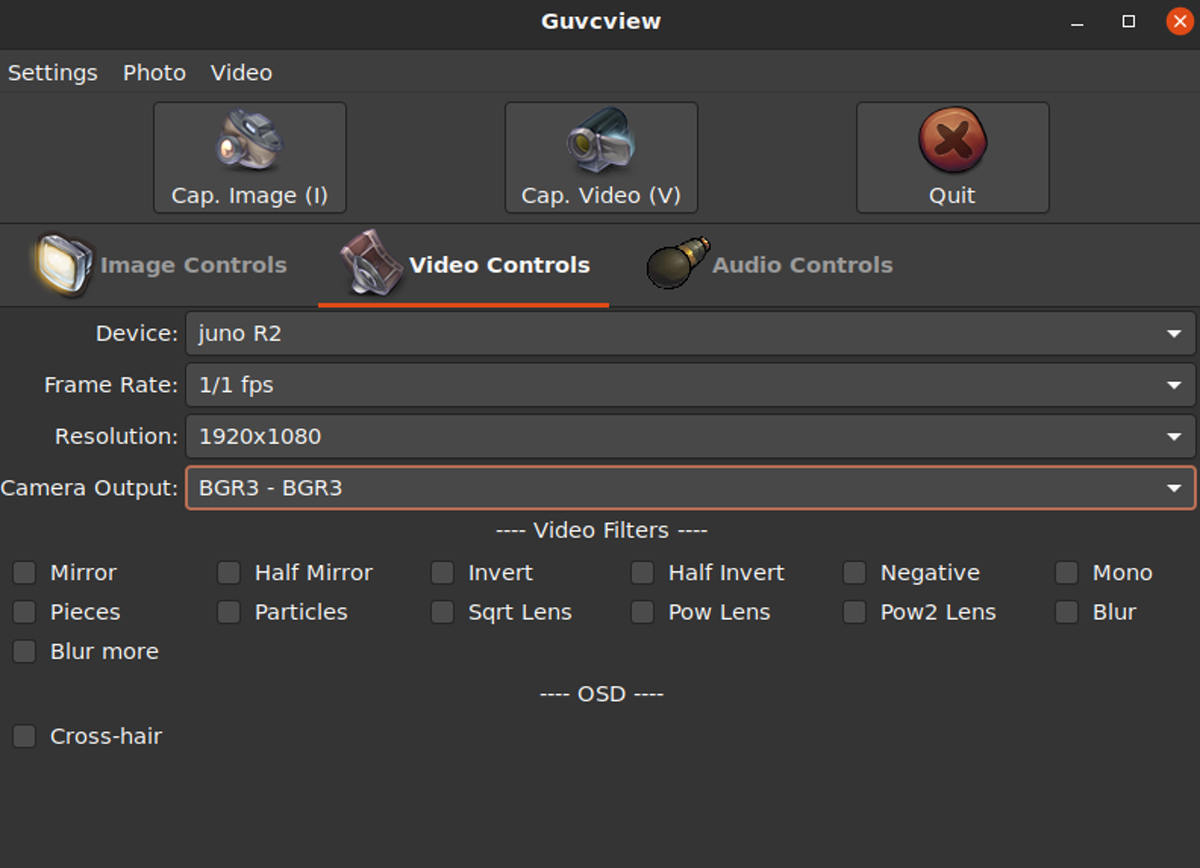
Guvcview
The desktop version has Guvcview pre-installed, find and open this application in the application list.
The name of the MIPI camera is Juno R2.
The resolution is set to 1920×1080 and the RGB format is BGR3-BGR3.
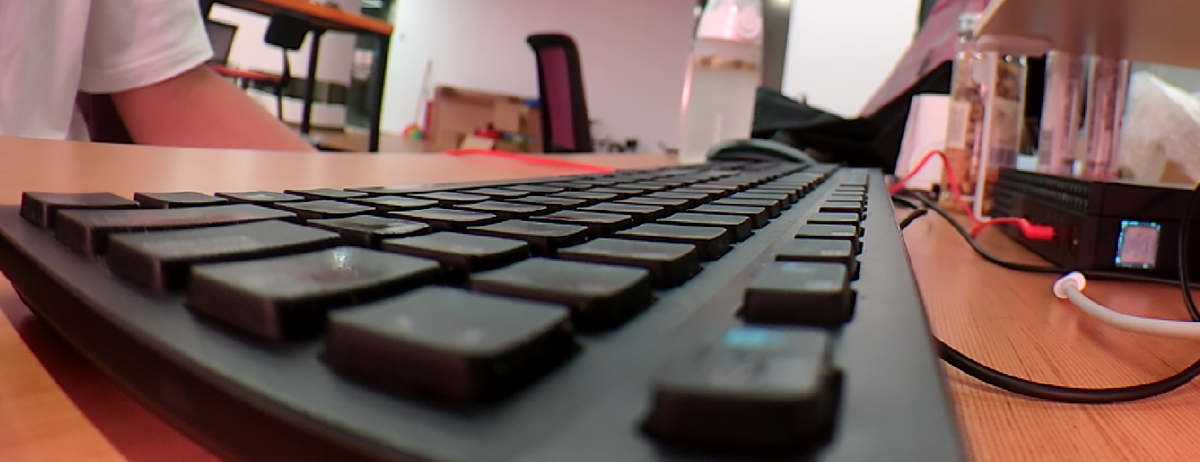
After the setting is successful, you can use the camera normally.
Command Line
Control IR-Cut via V4L2
The test needs to be conducted in the framebuffer mode, and switch to the framebuffer mode through the keyboard combination of Ctrl+Alt+F1.
Disable status
$ v4l2_test -c 1 -p 0 -F 0 -f 0 -D 0 -R 1 -r 2 -d 2 -N 1000 -n 800 -w 0 -e 1 -I 0 -b /dev/fb0 -v /dev/video0
Enable status
$ v4l2_test -c 1 -p 0 -F 0 -f 0 -D 0 -R 1 -r 2 -d 2 -N 1000 -n 800 -w 0 -e 1 -I 1 -b /dev/fb0 -v /dev/video0
Record Video via Gstreamer
$ gst-launch-1.0 v4l2src name=vsrc device=/dev/video0 ! video/x-raw,width=1920,height=1080,framerate=60/1,format=RGB ! filesink location=.//test.rgb
The recorded video is saved in test.rgb.
Demo Source Code
In addition to this, you can also test the camera via program.
Install Dependencies
sudo apt install libopencv-dev python3-opencv
Python
- mipi-camera.py
import cv2

if __name__ == '__main__':

    val = True

    cap = cv2.VideoCapture(0)
    cap.set(cv2.CAP_PROP_FRAME_WIDTH, 1920)
    cap.set(cv2.CAP_PROP_FRAME_HEIGHT, 1080)

    fourcc = cv2.VideoWriter_fourcc(*'XVID')

    out = cv2.VideoWriter("./test.avi", fourcc, 20.0, (640, 480), True)

    while val is True:
        ret, frame = cap.read()
        cv2.cvtColor(frame,cv2.COLOR_RGB2BGR)
        if frame is None:
            break
        else:
            out.write(frame)
            cv2.imshow("video", frame)
            k = cv2.waitKey(1) & 0xFF
            if k == 27:
                break

    cap.release()
    out.release()
Please modify the number of the open camera according to the camera node.
C++
- mipi-camera.cpp
#include <opencv2/highgui/highgui.hpp>
#include <opencv2/imgproc/imgproc.hpp>
#include <opencv2/core/core.hpp>
#include <iostream>
#include <string>
using
namespace  cv;

using
namespace  std;

int main(int argc, char** argv)
{
    int count=100;
    string str = argv[1];
    string res=str.substr(10);
    VideoCapture capture(stoi(res));
    capture.set(CAP_PROP_FRAME_WIDTH, 1920);
    capture.set(CAP_PROP_FRAME_HEIGHT, 1080);
    while (count)
    {
        Mat frame;
        capture >> frame;

        if (frame.empty()) {
            break;
        }
        int h = frame.rows;
        int w = frame.cols;
        const char *name = "video";
        namedWindow(name, 0);
        imshow(name, frame);
        waitKey(30);
        count--;
    }
    return 0;
}
Compile
$ gcc -o mipi mipi.cpp -lopencv_imgproc -lopencv_core -lopencv_videoio -lopencv_imgcodecs -lopencv_highgui -std=c++11 -std=gnu++11 -Wall -std=c++11 -lstdc++ -I/usr/include/opencv4
Run
$ ./mipi /dev/videoX


