User Tools
Sidebar
Table of Contents
VIM2 WOL (Wake-On-Lan)
Introduction
This document mainly introduces WOL. You will learn how to enable WOL and wake up through WOL. The first part of the document describes the usage under Ubuntu, and the second part describes the usage under Android.
Wake-On-LAN (WOL) is a protocol standard that allows your PC/Smartphone to turn on a computer via your local network.
Get Ethernet MAC Address
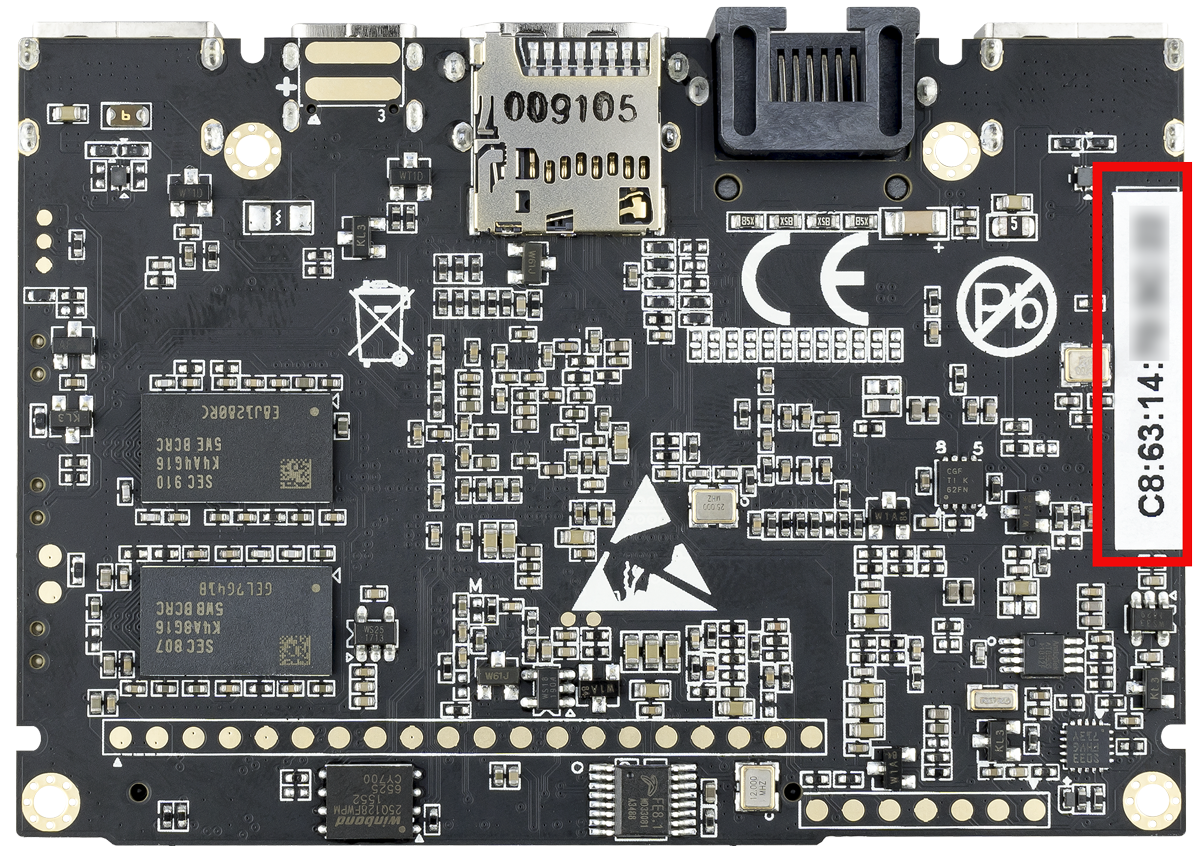
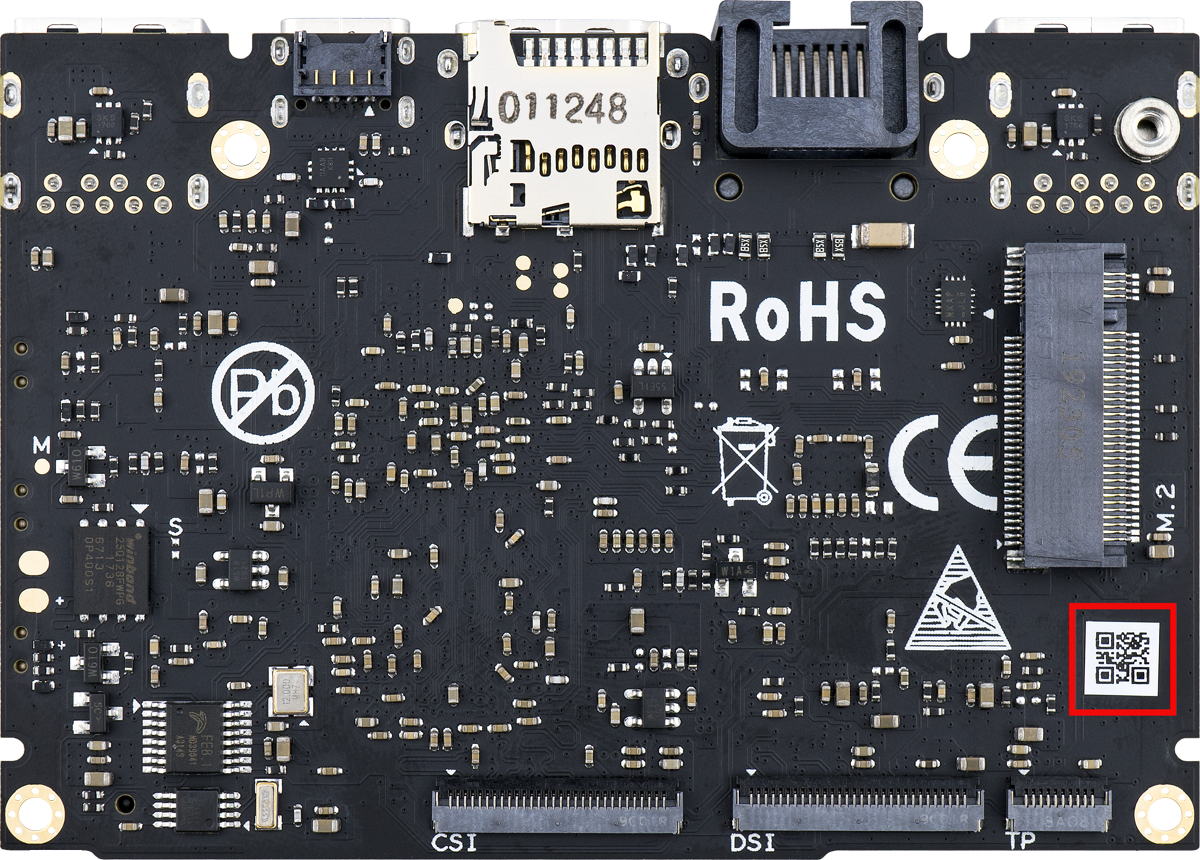
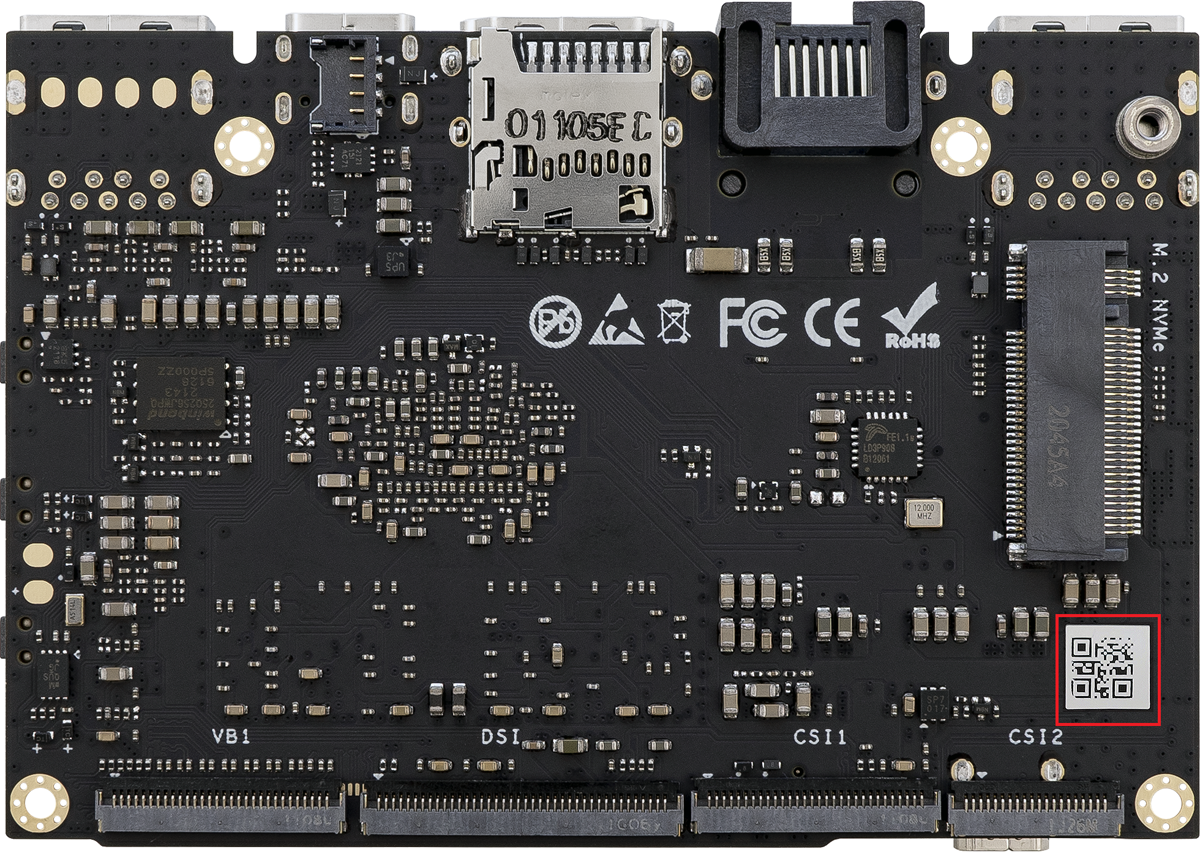
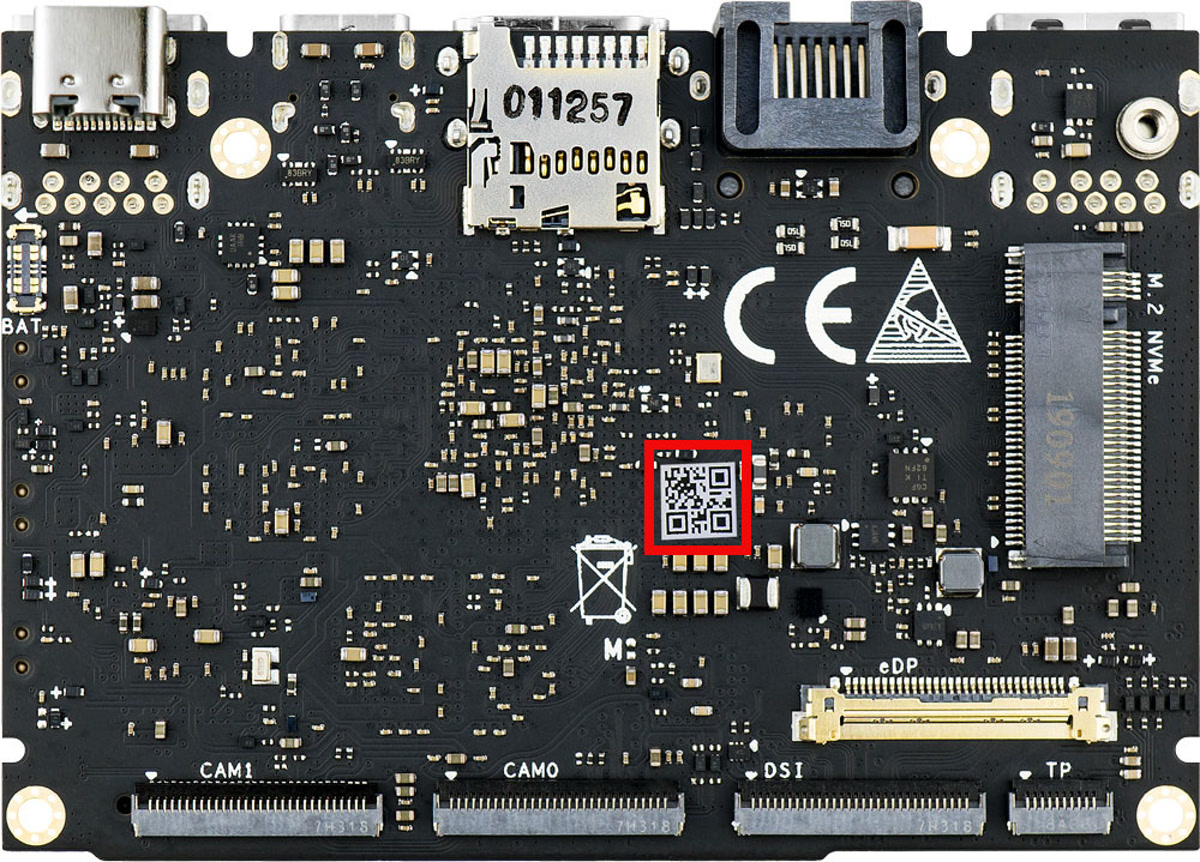
The Mac address is pasted onto the back of your SBC:
If the sticker has peeled-off, you can use following Terminal commands to get the MAC Address.
Type ifconfig on terminal.
$ ifconfig
eth0      Link encap:Ethernet  HWaddr 98:aa:fc:60:46:de
          inet addr:192.168.1.142  Bcast:192.168.1.255  Mask:255.255.255.0
          inet6 addr: fe80::9aaa:fcff:fe60:46de/64 Scope: Link
HWaddr 98:aa:fc:60:46:de corresponds to your Ethernet MAC address.
Enable WOL
Enable with U-Boot
By default Wake-On-LAN is disabled. So you’ll have to use the Khadas Bootloader Instructions (KBI)to enable it.
kvim2# kbi trigger wol w 1
If you want to check the WOL status, you can input:
kvim2# kbi trigger wol r
boot wol: enable
Enable with Ubuntu
Enable with Android
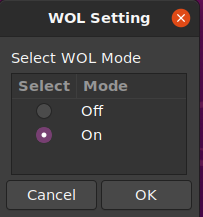
You can enable WOL in the Settings–>Khadas Settings–>WOL menu.
Testing WOL
After doing the steps above, you can test the WOL function.
- Connect with a LAN.
- Power off.
- Attempt to wake up, via a Ubuntu device on the same LAN.
- Install the wakeonlan tool.
$ sudo apt-get install wakeonlan - Wake up your VIM2 using it’s MAC Address.
$ wakeonlan 98:aa:fc:60:46:de

