Table of Contents
VIM4 Install OS into eMMC via OOWOW
OOWOW provide many ways for eMMC writing, for any configurations.
GUI
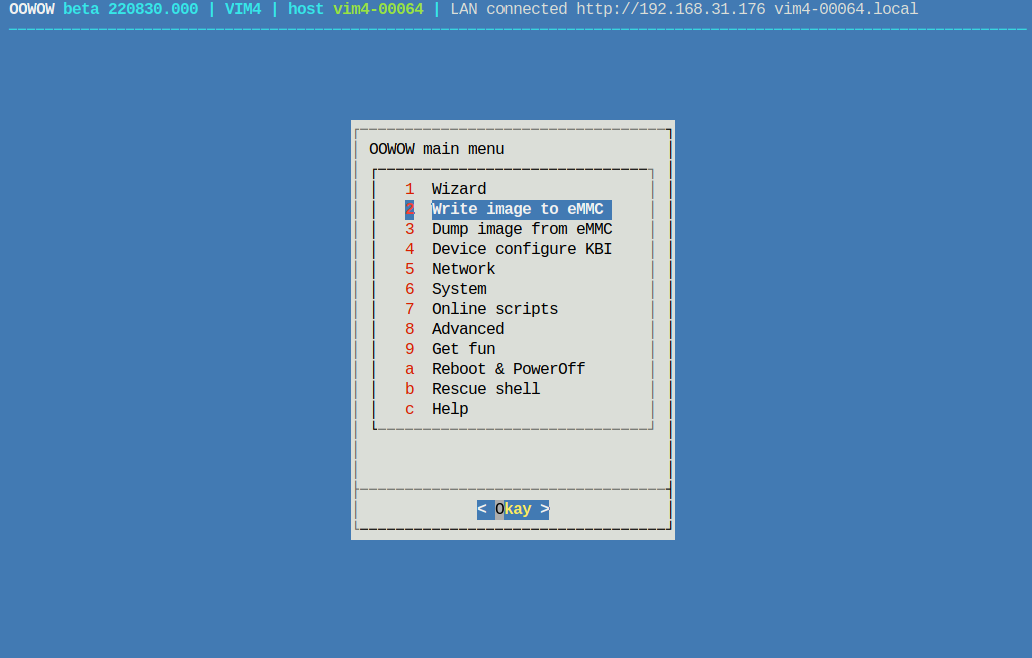
Common OOWOW menu interface available for HDMI display and USB-keyboard.
Wizard
OOWOW Wizard automate all steps for you, just follow instructions.
Write Image to eMMC
More advanced way user can choose any suitable image from different locations: local storage SD/USB/… , network storage or download server.
WEB GUI
Same OOWOW menu interface get via web by your preferred browser:
- LAN:
http://vim4-XXXXX.local- scan-local-network-for-vim4-names - USB:
http://172.22.1.1 - Hot-Spot:
http://172.23.0.1
API - shell
All next steps doing on pc side by command-lines shell. Both devices must be connected in same local network.
Advanced way for developer, head-less usage, automation, scripting and advanced users.
Write via USB-OTG connection
VIM4 connected by USB to PC always have full access by USB IP: 172.22.1.1
- api-write-image-to-emmc-by-usb-connection.sh
curl 172.22.1.1/shell/write | sh -s - IMAGE
Write via Hot-Spot WAN connection
VIM4 connected as Hot-Spot have full access by WAN IP: 172.23.0.1
- api-write-image-to-emmc-by-wan-hotspot-connection.sh
curl 172.23.0.1/shell/write | sh -s - IMAGE
Write via LAN connection
VIM4 by local network name vim4-XXXXX can get scan-local-network-for-vim4-names.
- api-write-image-to-emmc-by-lan-connection.sh
curl vim4-XXXXX/shell/write | sh -s - IMAGE
Scan local network for vim4 names
We can get access to any VIM4 device by local network name.
- scan-vim4-devices-in-local-networks.sh
~$ avahi-browse -a |grep vim4
+  wlan0 IPv4 vim4-00064                                    SSH Remote Terminal  local
+   usb0 IPv4 vim4-00064                                    _device-info._tcp    local
+   usb0 IPv4 vim4-00064                                    SSH Remote Terminal  local
+  wlan0 IPv4 vim4-00064                                    _device-info._tcp    local
~$ ping vim4-00064.local
~$ ssh root@vim4-00064.local
...
Any time can get right name for your device vim4-XXXXX.local where XXXXX is a last 5 digits from device serial number.
